

So you recently decided you want to build your website on Showit, now what? Getting started with Showit isn’t hard, and I’m here to tell you how you can create your new website step by step in under a week. Follow the steps below to get your Showit website up and running!
Sign Up for A Showit Plan
The first step you’re going to take is to sign up for a plan with Showit. You can use this link right here to get your first month FREE! The most popular plan is their Showit + Basic Blog, which gives you access to both creating your website and blogging. This is the best option as blog posts are imperative for search engine optimization.
Choose Your Showit Template
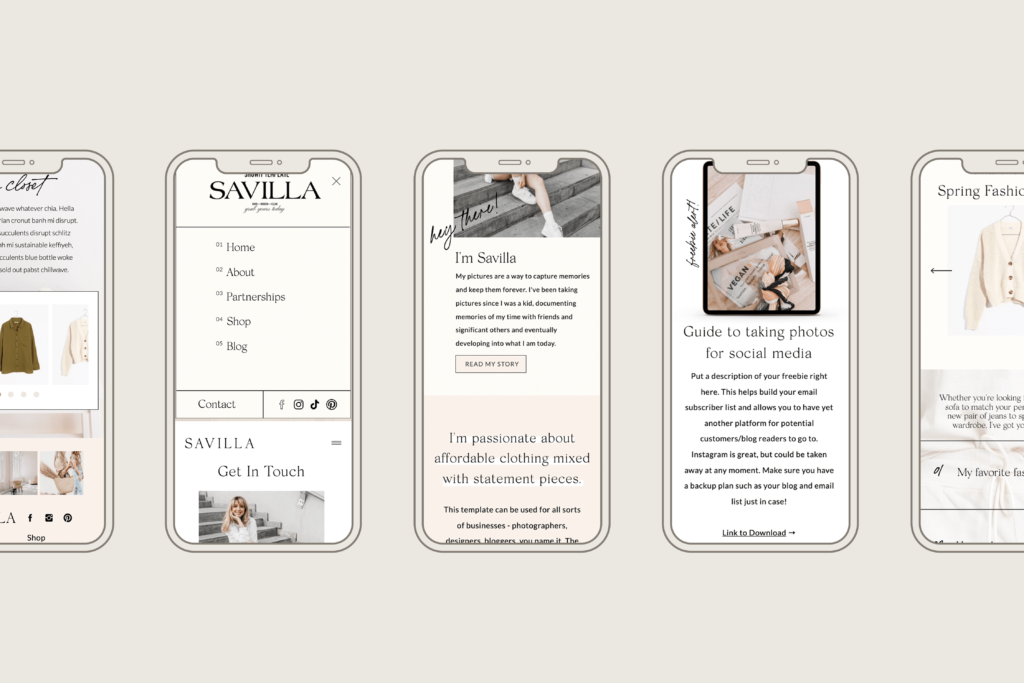
Next, you’re going to want to choose your showit template. We have all different kinds of templates in our shop ranging from templates for photographers, interior designers, and more. You’ll want to look for one that has all of the pages you’d like to have included whether it be a services page, galleries for your photos, or a blog heavy template for all of the influencers out there. Don’t stress too much about choosing the *perfect* template, because you can always add pages down the road or hire a designer to help create them for you. We’ve recently started to offer day rates, which allows us to customize your site for you, add in new pages, or just about anything else you can think of that we can get done in an 8 hour day! Contact us here if you’d like to save time on customizing your template yourself.
Change the Colors and Fonts
Once you’ve chosen your design, you’ll want to add the template to your website (find how to do so here) and change the colors and fonts in your design section (found under site – design settings). For fonts, you can either choose a free Google font or upload your own custom ones. Make sure your fonts are in “woff” form vs otf or ttf if you’re uploading a custom font. You can upload your custom font through your library and then choose it under design settings – fonts – custom fonts – library woff. When you’re changing out your colors, all you have to do is click a color (design settings – site style – color palette) and change out the hex code. Don’t forget to click save when you’re finished!
Upload Your Media
Swapping out images is one of the most important steps! Make sure your imagery is clean, professional, and matches the overall vibe of your website. You can do this by including your brand colors in what you wear and your background. If you want a more neutral approach, wear whites, blacks, and tans and shoot your content on a neutral background.
Write Your Copy
Copy is what’s going to sell your services. Make sure it’s clear, to the point, and describes the end result! We tend to recommend that our clients use a copywriter, but if this isn’t in your current budget you can use our copy guides throughout our templates to help get you started.
Click Publish
Once you have everything ready to go, it’s time to click publish! Double check to make sure all copy and imagery is correct, and that you have your domain name connected. Once all of these are checked off, click publish and you’re ready to start booking clients – hooray!
